
If your 3D prints aren’t sticking—or your first layer looks rough—the problem is almost always your first layer squish.
Get this right, and your prints stick perfectly.
Get it wrong, and nothing else matters.
⚡ Quick Answer (Featured Snippet)
First layer squish is how much the nozzle presses filament into the build plate. The ideal squish creates slightly flattened lines that bond together without being overly compressed or transparent.
🔍 What Is First Layer Squish?
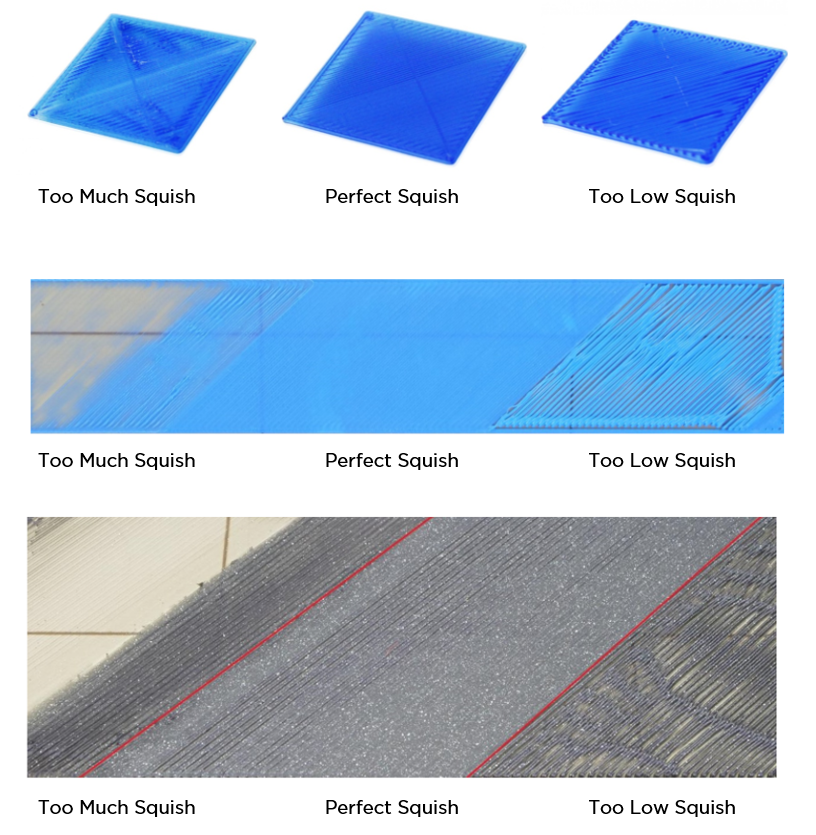
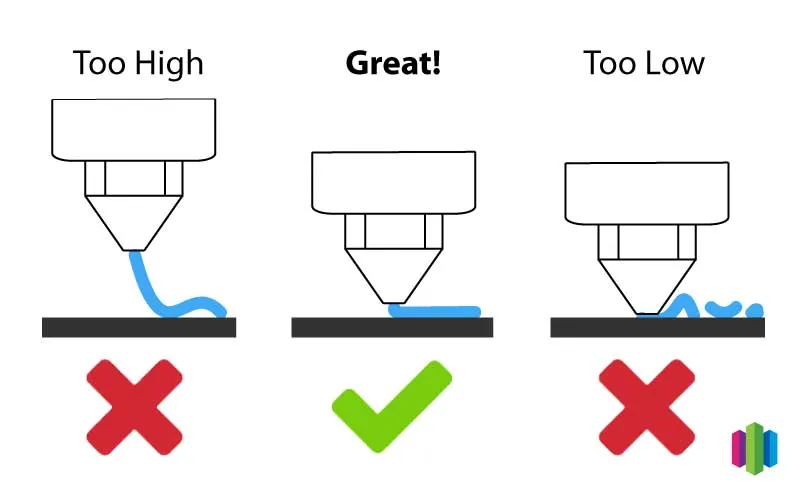
First layer squish is the compression of filament between the nozzle and the bed during the first layer.
Instead of laying down perfectly round lines, the nozzle gently presses the filament so it spreads slightly.
👉 This increases:
- Surface contact
- Adhesion
- Layer bonding
✅ What Perfect Squish Looks Like
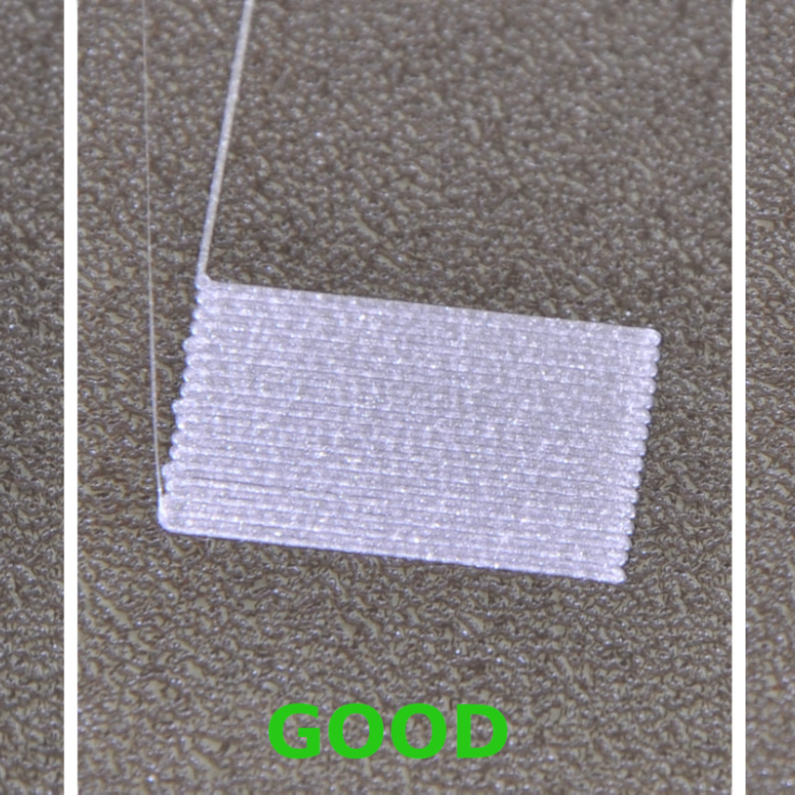
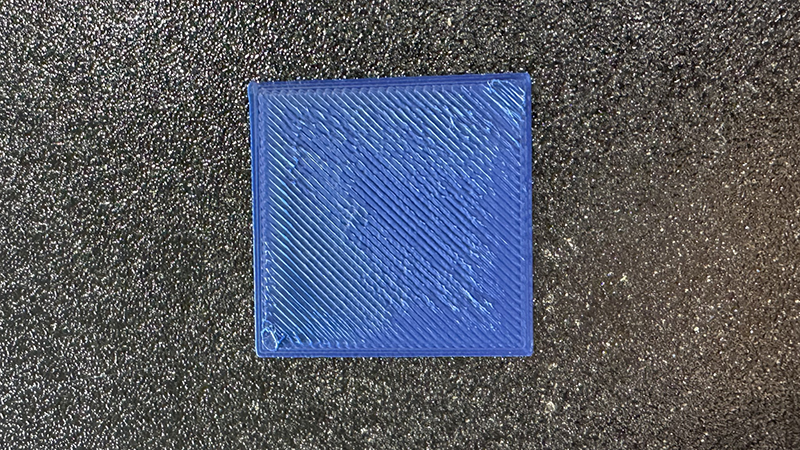
You’re aiming for:
- Slightly flattened lines
- No gaps between lines
- Smooth, even surface
- Lines that lightly blend together
👉 Think: “pressed, not smashed”
❌ Too Little Squish (Nozzle Too High)
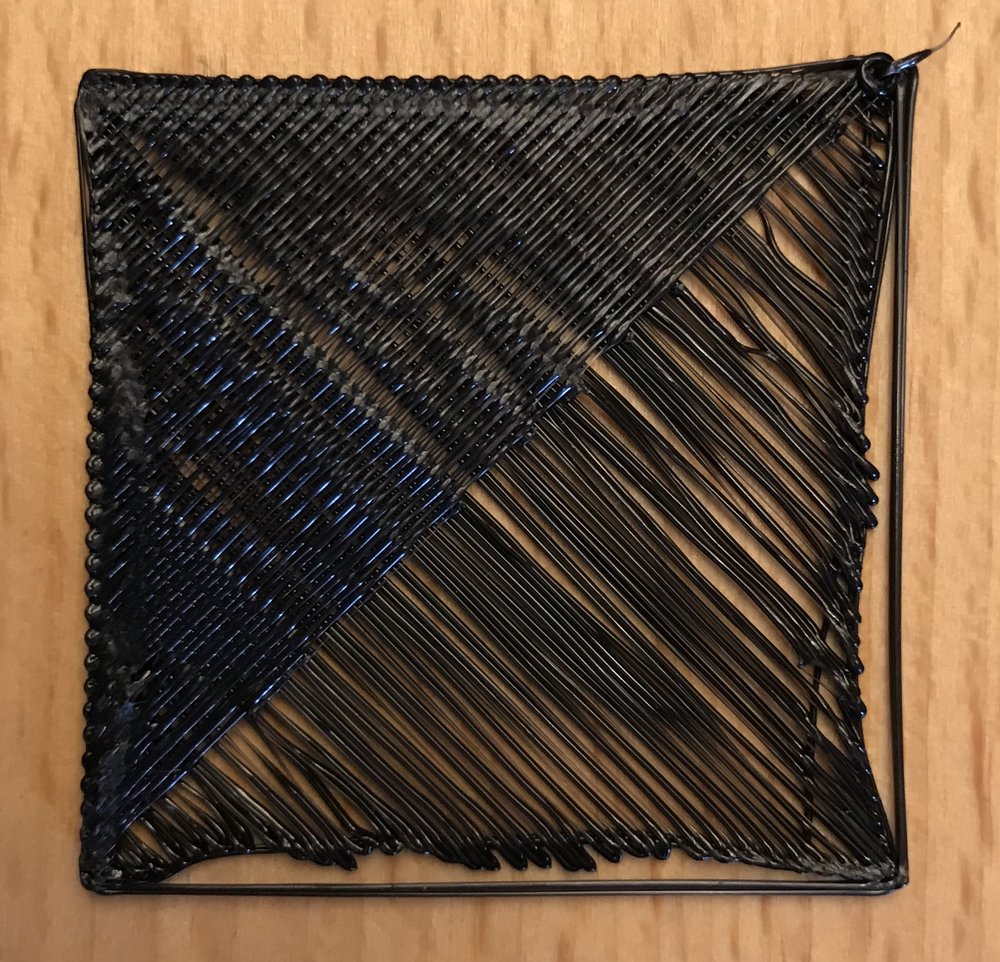


Signs:
- Lines are round and thin
- Visible gaps between lines
- Poor adhesion / peeling
- Prints fail early
👉 This is the most common issue
❌ Too Much Squish (Nozzle Too Low)


Signs:
- Filament looks overly thin or transparent
- Rough or ridged surface
- Nozzle dragging or scraping
- “Elephant’s foot” on prints
👉 This can damage your bed over time
🔧 How to Dial in Perfect First Layer Squish
1. Adjust Your Z-Offset (Key Step)
- Lower nozzle slightly if not sticking
- Raise slightly if scraping
👉 Adjust in tiny increments (0.02–0.05 mm)
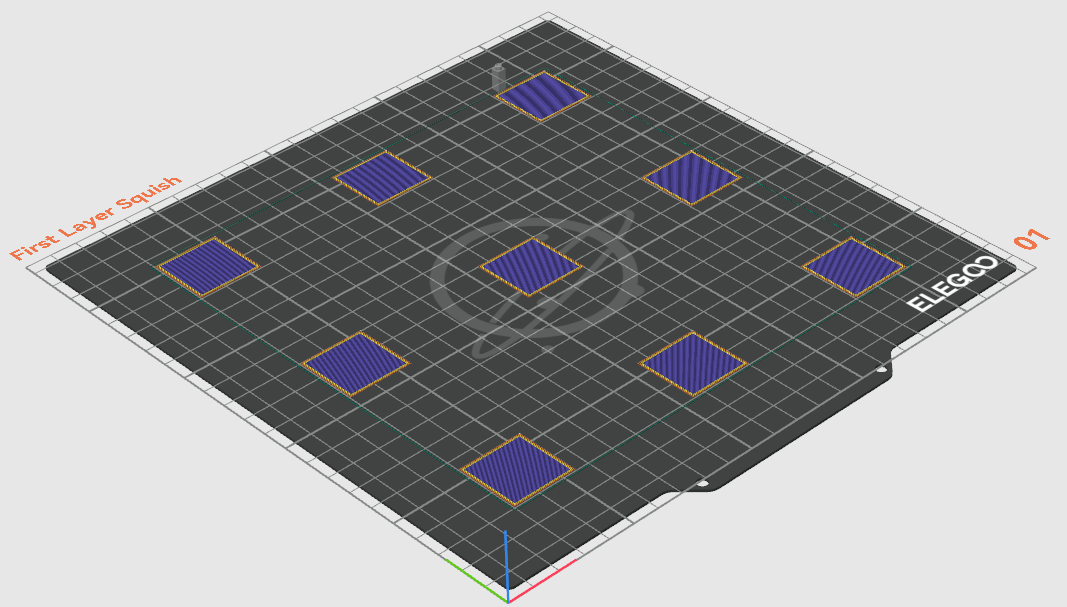
2. Use a First Layer Test Print
- Print a single-layer square or grid
- Watch how lines behave in real time
3. Watch the First Layer (Seriously)
This is where most people mess up.
👉 Don’t walk away—observe:
- Are lines bonding?
- Are they too thin?
- Are they lifting?
4. Tune First Layer Settings
Recommended baseline:
- First layer speed: 15–25 mm/s
- Line width: 110–120%
- Cooling: OFF for first layer
⚖️ Squish vs Bed Adhesion (Why It Matters)
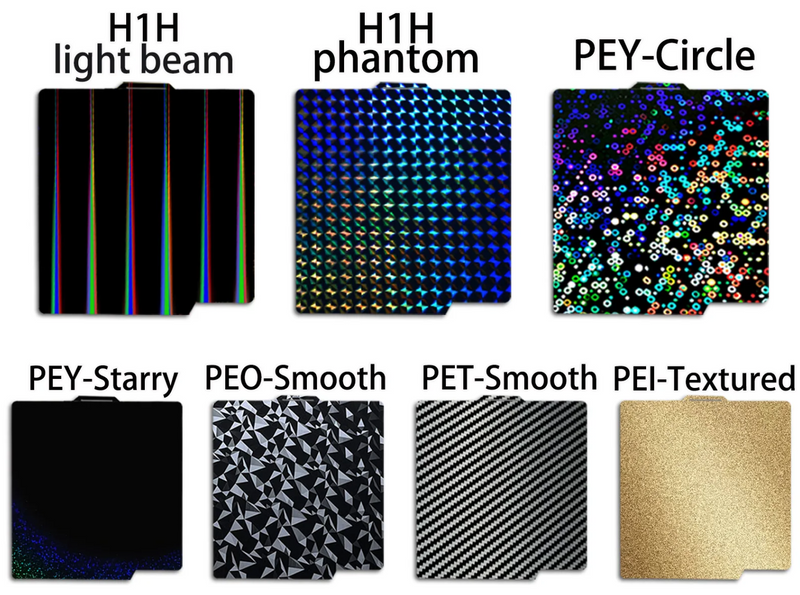
Even with a perfect bed or PEI build plate…
👉 Bad squish = bad adhesion
This is why:
- Some people struggle on glass
- Others print flawlessly on the same setup
Squish controls mechanical bonding, not just surface grip.
🛠️ When Squish Isn’t Enough
If you’ve dialed in squish and still have issues:
- Clean your bed (isopropyl alcohol or dish soap)
- Increase bed temp slightly
- Use adhesive (glue stick)
- Upgrade to a PEI build plate
👉 If you’re dealing with constant adhesion issues, read:
Why PLA Won’t Stick to Bed
💡 Pro Tips Most People Miss
- Slightly lower first layer height than normal layers
- Use a brim for tricky prints
- Recheck Z-offset after changing beds
- Different filaments need slightly different squish
🧾 Final Thoughts
First layer squish is one of the highest-impact settings in all of 3D printing.
Dial it in once—and your success rate skyrockets.
Ignore it—and you’ll keep chasing problems that don’t actually exist.